7 Tips for Choosing a Thermo Microtome?

Choosing a thermo microtome is not just a matter of comparing prices or reading a specification sheet. The right instrument should match your specimens, section thickness, daily workload, and staff experience. A paraffin block, a frozen sample, and a delicate tissue section can demand different handling. Small differences matter.

Histotechnology author John D. Bancroft’s published work emphasizes careful preparation and controlled technique. A practical principle reflecting that guidance is: “Good sections begin before the blade touches the tissue.” This is a paraphrase, not a direct quotation. It captures an important point: even a capable microtome cannot correct poor fixation, unsuitable embedding, or a poorly prepared blade.

This guide introduces seven practical checks for evaluating a thermo microtome. Consider sectioning performance, temperature control, specimen compatibility, safety features, cleaning, service support, and operator training. Look closely at details you can test: whether the handwheel feels steady, whether ribbons form consistently, and whether routine adjustments are easy to reach. Ask for a demonstration using samples similar to yours. Specifications help, but they do not tell the whole story.

There is no perfect choice for every laboratory. A model that suits a high-volume pathology bench may be excessive for occasional research work. And a feature-rich system can still frustrate users if the workflow feels awkward. Use these tips to compare options carefully, identify trade-offs, and choose equipment that supports reliable, repeatable sectioning in your actual lab.

7 Tips for Choosing a Thermo Microtome?

Understand the Purpose and Types of Thermo Microtomes

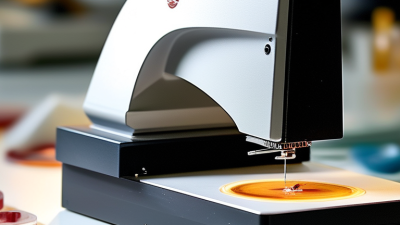
A thermo microtome helps produce thin, consistent slices of tissue for viewing under a microscope. Temperature control matters when samples are wax-embedded, frozen, or prone to deforming during cutting. The right instrument depends on the specimen and the examination method, not simply the thinnest section it can make. A neat ribbon of sections is useful. But it is not the whole story.

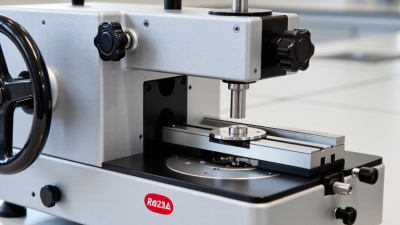
A rotary microtome commonly cuts paraffin-embedded tissue, turning a handwheel to advance the block past a blade. Sliding or sledge models can handle larger or firmer samples with a steady linear stroke. For frozen tissue, a cryostat keeps the specimen and cutting area cold, helping preserve structures that may be altered by processing.

Vibrating microtomes can section fresh, soft samples with less compression, though their slices may not suit every staining method. Each type has trade-offs. Cooling can make some tissue brittle; warming can soften wax and distort a section.

Check the expected sample size, temperature range, section thickness, and blade compatibility against the instrument’s specifications. A small test section often reveals problems before a full series is cut. I would not assume that one setting works for every tissue; preparation and handling can change the result.
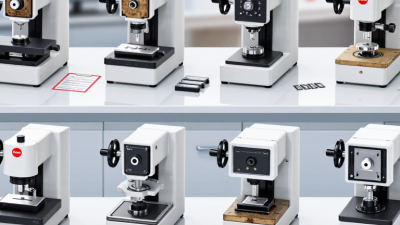
Match the Instrument to Your Specimens and Sectioning Needs

7 Tips for Choosing a Thermo Microtome?

Match the Instrument to Your Specimens and Sectioning Needs

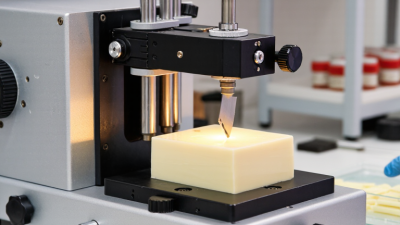
Start with the tissue, not the feature list. A cryostat handles fresh-frozen specimens; a rotary microtome is typically used for paraffin-embedded blocks. Consider the hardest routine sample, too. Dense tissue, small biopsies, and large blocks place different demands on the chuck, blade holder, and feed mechanism. A generous specimen chamber sounds useful, but it may be wasted space in a low-volume lab.

Section thickness is a practical benchmark. Bancroft’s Theory and Practice of Histological Techniques, 8th edition, describes routine paraffin sections commonly cut around 3–5 μm, while frozen sections are often thicker, roughly 5–10 μm. Check that the instrument’s settings cover your protocols, then test actual samples. Smooth controls can hide vibration or compression that appears in tougher tissue. Small details matter. I still find that easy to overlook.

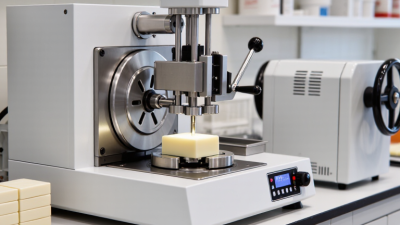
Match temperature control and workflow to specimen volume. For frozen work, look for stable chamber temperature, quick recovery after loading, and enough space to handle your usual block size. For paraffin work, assess handwheel balance, section-feed consistency, and how easily the operator can change blades. Ask for a demonstration using representative specimens, not just a polished test block. Review cleaning steps, service access, and operator training needs; a fast instrument is less useful when setup interrupts the day. Keep a short trial log. It may reveal that your first assumptions were wrong.

Compare Temperature Control, Blade Options, and Cutting Precision

Temperature stability affects section quality before the blade even touches tissue. Compare the specified range, setpoint accuracy, and temperature uniformity across the specimen area. Then verify performance with an independent calibrated probe; the display alone may not reveal a warm spot near the chuck. Recovery time matters too. A chamber that cools slowly after opening can interrupt a steady workflow.

Blade options should match the samples you actually cut. Disposable blades are convenient for routine work, while reusable profiles may suit particular materials and sharpening practices. Check blade compatibility, holder rigidity, and whether the cutting angle can be adjusted without awkward tools. Precision is measurable: routine paraffin sections are commonly cut at 3–5 μm, as described in Suvarna et al., Bancroft’s Theory and Practice of Histological Techniques, 8th edition (2019). At this thickness, vibration, specimen temperature, and blade condition can all affect ribbons. ISO 15189:2022 also emphasizes equipment suitability and appropriate calibration. Worth checking. A specification sheet will not tell you how the instrument behaves after repeated cuts; test it with representative tissue, and record section consistency. Some trade-offs remain. A colder setting may improve support but make brittle specimens harder to section.

7 Tips for Choosing a Thermo Microtome? - Compare Temperature Control, Blade Options, and Cutting Precision
Selection factor What to compare Practical guidance Why it matters
1. Temperature control Temperature range, adjustment increments, stability, and temperature uniformity around the specimen. For cryosectioning, confirm the working range suits the tissue and embedding medium. Many frozen-tissue workflows operate around −20°C to −30°C, but the suitable setting varies by specimen and protocol. A stable, appropriate specimen temperature helps reduce compression, cracking, and inconsistent section formation.
2. Temperature monitoring Whether the display reports chamber, specimen-head, or both temperatures; sensor location and recovery after door opening. Prefer clearly identified readings and a design that lets you check specimen temperature after loading or changing settings. Ask how temperature stability is specified and measured. The chamber display alone may not represent the temperature at the block face.
3. Blade options Compatibility with disposable low-profile and high-profile blades, or reusable steel knives; blade-holder availability. Check the holder type and the blade formats used by your lab. Disposable blades simplify replacement; reusable knives may suit workflows that include sharpening and careful knife maintenance. A compatible blade and rigid holder support a clean cut and help avoid unnecessary workflow changes.
4. Clearance and blade angle Blade-clearance adjustment, angle range, repeatability, and ease of making fine adjustments. Look for a secure, reproducible adjustment mechanism. The best setting depends on the blade, tissue, and temperature; follow the instrument and blade guidance rather than relying on one universal angle. Incorrect clearance can contribute to compression, chatter, or sections sticking to the blade.
5. Section-thickness range Selectable thickness range, adjustment increments, and feed consistency across the working range. Routine paraffin histology commonly uses sections around 3–5 μm. Frozen sections are often cut within a few to tens of micrometres, depending on the application; verify the instrument’s stated range meets your protocols. A suitable range and consistent feed help produce sections with the thickness required for microscopy or downstream testing.
6. Cutting precision and stability Feed mechanism, handwheel smoothness, specimen-clamp rigidity, vibration, and serviceable mechanical parts. If possible, test the instrument with representative blocks. Check for smooth movement, secure clamping, and repeatable sections; request documented performance specifications where available. Mechanical play or vibration can cause uneven thickness, chatter, or damage to fragile specimens.
7. Anti-roll, cleaning, and safety Anti-roll plate or section-transfer accessories, chamber cleanability, defrost procedure, and blade guards. Choose accessories that match your sectioning technique. Confirm that surfaces are accessible for cleaning and that blade changes and defrosting can be performed safely under your lab procedures. Suitable accessories improve section handling, while accessible cleaning and safe blade handling support routine laboratory use.

Assess Safety, Ease of Use, Maintenance, and Workflow

7 Tips for Choosing a Thermo Microtome?

A suitable thermo microtome should fit the workbench, sample types, and daily cutting volume. Check the safety features before comparing extra functions. Look for a stable handwheel, a blade guard that moves smoothly, and a clear emergency-stop position. Keep enough bench space for safe loading and cleaning. Small details matter.

Tip 1: Test the controls with gloved hands, if possible. Confirm that thickness settings are easy to read and adjustments feel precise. Ask how the instrument limits access to the blade during routine handling.

Tip 2: Consider the workflow. Can samples be loaded without awkward reaching? Does the unit fit beside the tools used for trimming, labeling, and collecting sections? A slightly slower setup may be easier to use consistently.

Tip 3: Ask about cleaning access and routine maintenance. Check which surfaces need wiping, how often parts require inspection, and whether service instructions are clear.

Tip 4: Compare the maintenance schedule with your team’s staffing and workload. A feature-rich instrument is not automatically the best choice. If daily checks are easy to overlook, build them into a written checklist. That is not glamorous, but it helps. Before choosing, ask operators to review the setup and note any confusing steps. Their feedback may reveal a small inconvenience that becomes frustrating after hundreds of samples.

Verify Compatibility, Technical Support, and Total Ownership Cost

Choosing a thermo microtome is not only about section thickness or cutting speed. Confirm that it suits your specimen types, embedding materials, and expected workload. Ask whether existing blades, specimen holders, and cooling accessories will fit. Compatibility can be easy to overlook. A mismatch may mean extra purchases or slower preparation. Check the available bench space, power requirements, and temperature range against your actual laboratory setup. A specification sheet may look reassuring, yet still miss awkward daily tasks.

Technical support matters when the instrument needs calibration, maintenance, or troubleshooting. Ask how quickly a trained technician can respond, whether remote guidance is available, and what routine servicing involves. Request a clear list of included training and support terms. Small details matter. Estimate total ownership cost across several years, including installation, consumables, replacement parts, service visits, and possible downtime. Compare those costs with the purchase price, not separately. A lower upfront price may not be the better value. The estimate will never be perfect; workload and repair needs can change. Still, recording your assumptions makes comparisons more reliable and exposes costs that a rushed decision might miss.

7 Tips for Choosing a Thermo Microtome: Verify Compatibility, Technical Support, and Total Ownership Cost

Use this checklist to compare options: confirm specimen and accessory compatibility, support and service availability, operating costs, sectioning performance, safety, workflow fit, and demonstration results. Bar values count verification points in this sample checklist; they are not product ratings or market statistics.

preloader