7 Tips for Choosing a Thermo Scientific Microtome
Choosing a thermo scientific microtome is more than comparing prices or choosing the newest model. The right instrument should match your specimens, sectioning goals, workload, and available bench space. A system used for routine teaching may not suit a busy diagnostic or research laboratory. Small details matter.
Before deciding, consider the tissue types you prepare and the section thicknesses your protocols require. Check the instrument’s stated capabilities and confirm that its holders, clamps, and blades suit your workflow. Compatibility can vary by model. The manufacturer’s documentation is the best place to verify it.
The seven tips in this guide focus on practical choices: application, section quality, operating features, safety, maintenance, support, and total cost. A clear comparison can help you spot trade-offs before purchase. For example, a feature that saves time may be less valuable if your team rarely uses it. Fit comes first.
Experience also matters. Ask operators to assess controls, cleaning, and routine adjustments, not just the product specifications. If possible, review a demonstration using representative specimens. Results depend on preparation and technique, too; no microtome can compensate for every inconsistency upstream. That point is easy to overlook.
Model names and configurations may change, so confirm current specifications with Thermo Fisher Scientific or an authorized representative. This guide is a starting point, not a substitute for checking your laboratory’s protocols. Choose with care, and leave room to reconsider.
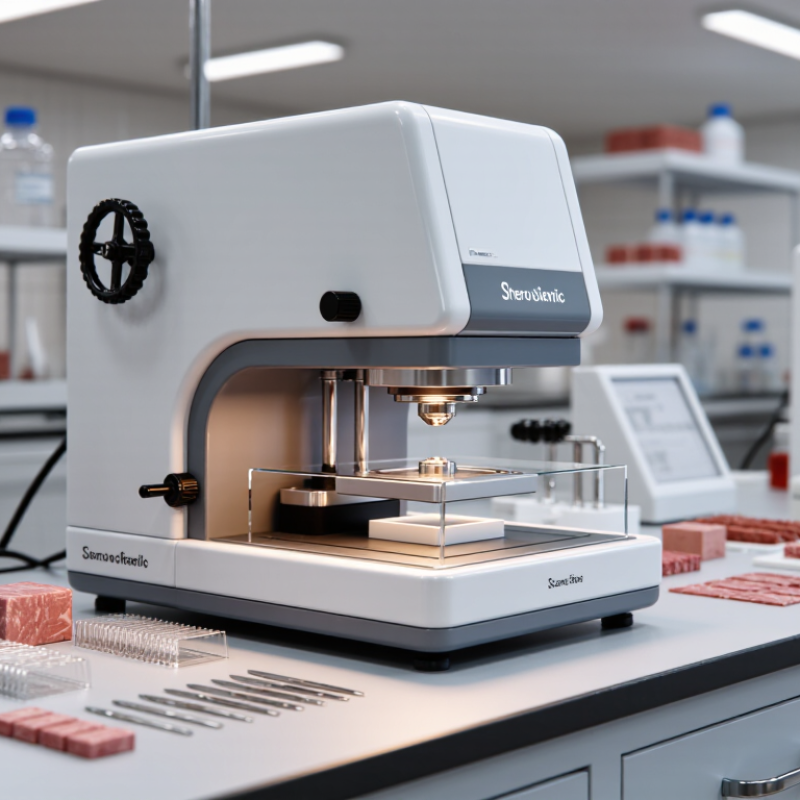
Identify the Specimens and Sectioning Tasks You Need to Handle
Start by listing the specimens you expect to section, not just the number of samples. Note whether they are fixed or fresh, soft or dense, and whether they contain delicate structures such as small vessels or layered tissue. Record the typical specimen size and the section thickness your work requires. Be specific. A microtome suited to routine paraffin blocks may not meet the needs of frozen samples or unusually hard materials.
Tip 1: Match the instrument’s sectioning method to your specimens. For paraffin-embedded tissue, consider how consistently it can produce thin sections with minimal compression. If you handle frozen specimens, check that the setup supports controlled temperature and stable cutting. Tip 2: Think about your daily workload. A few blocks per day call for different handling priorities than a busy laboratory processing many samples. Smooth feed controls, comfortable hand positioning, and easy blade access matter during repeated work.
Tip 3: Test your assumptions against actual samples. Ask whether the instrument can accommodate your largest blocks and the thickness range you use. If possible, assess section quality with representative specimens, including the difficult ones. Your initial list may miss an awkward tissue type; revise it after real runs. A perfect specification sheet cannot replace that check.
Compare Microtome Types, Section Thickness, and Cutting Capacity
Match the microtome type to the specimen and workflow. A rotary model often suits routine paraffin blocks and steady serial sectioning. A sliding design may handle larger or firmer specimens more comfortably. For frozen tissue, check whether a cryostat is required. These categories are not interchangeable. Think about the samples you actually process, not just the instrument already in the room.
Check the documented section-thickness range and adjustment increments against your protocols. Very thin sections may be needed for some imaging methods; thicker settings may suit other applications. Confirm that the instrument can repeat the chosen setting consistently. Ask how adjustments behave during long runs. A range on paper does not guarantee easy, reliable daily use. That detail matters.
Assess cutting capacity using real block dimensions. Check maximum specimen size, clearance, feed travel, and compatibility with your usual holders and blades. If several blocks are processed in one session, consider pace, stability, and how easily sections can be collected. A larger capacity can help, but it may take more bench space. Measure before ordering. Also review cleaning and maintenance requirements with the people who will use the instrument. Small workflow mismatches are easy to miss—and irritating later.
Evaluate Precision, Automation, Ergonomics, and Safety Features
Tip 1: Assess precision using the section thickness range and adjustment increments, not headline specifications alone. For routine work, consistent sections matter more than an impressive maximum setting. Ask how the instrument maintains stability during repeated cuts. Tip 2: Look for automation that fits your workflow. Programmable trimming or motorized feed can reduce repetitive hand movements, but extra functions may add setup steps. Try common tasks before deciding.
Tip 3: Check ergonomics at the bench. Sit or stand in your usual position and test the handwheel, controls, and specimen clamp. Your wrist should stay neutral, and controls should be easy to reach without leaning. Feel the controls. A small mismatch can become tiring during a long session.
Tip 4: Review safety features, including handwheel locks, blade guards, and clear procedures for changing blades. Confirm that guards are easy to use, not merely present. Tip 5: Consider cleaning and maintenance access. A design that is awkward to wipe down may slow routine care. Tip 6: Compare noise, footprint, and visibility in the actual workspace. Tip 7: Ask for a demonstration with representative samples. Specifications help, but they cannot reveal every handling issue. A perfect checklist is unlikely; record trade-offs and revisit them with the people who will use the instrument daily.
Check Blade, Consumable, and Laboratory Workflow Compatibility
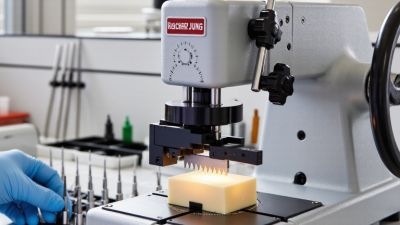
When choosing a microtome, check the blade holder against the blade type, profile, and dimensions specified for the instrument. A blade that fits loosely can produce uneven sections; one that is incompatible may not seat safely. Confirm the manual’s approved options before ordering. Fit matters. Check whether the holder accepts low- or high-profile blades, and whether changing profiles requires a separate holder. Also verify that clamps, waste trays, and any required guards are available and easy to replace.
Consumables shape daily workflow, not just cutting quality. Confirm the instrument can use the lab’s preferred blade supply and specimen holders, then test sectioning with representative tissue and routine thickness settings. The ASCP 2022 Vacancy Survey reported a 7.2% overall vacancy rate across clinical laboratories, a reminder that workflows may need to work reliably with limited staffing. Small mismatch, big delay. Ask staff to time blade changes, cleaning, and routine maintenance during a trial. CDC/NIOSH has cited an estimate of 600,000–800,000 needlestick injuries annually among healthcare workers; this broad estimate is not specific to microtome blades, but it underscores the value of safe handling procedures. Even a good setup can feel awkward at first. Record what slows the team down, and revisit the choice after real use.
7 Tips for Choosing a Laboratory Microtome
Use these planning priorities to compare blade, consumable, and workflow compatibility before selecting a microtome.
Illustrative planning scores from 1 (lower priority) to 5 (higher priority), not product specifications. Confirm section-thickness limits, blade fit, specimen-holder requirements, and operating conditions with the instrument documentation and your laboratory protocols.
Compare Support, Maintenance, and Total Cost Before Choosing
When comparing microtomes, look beyond the purchase price. Ask who provides technical support, how quickly service calls are answered, and whether replacement parts are readily available. A delayed repair can leave a bench idle and samples waiting. That matters. Check what routine maintenance includes: inspection of the feed mechanism, handwheel lock, specimen clamp, and blade holder. Ask whether staff training and service records are included, or charged separately.
Calculate total cost across the instrument’s expected working life. Include purchase, installation, training, blades, preventive maintenance, repairs, and downtime.
The U.S. Department of Energy’s Operations & Maintenance Best Practices Guide reports potential maintenance-cost savings of 8–12% for predictive versus preventive maintenance, and 25–30% versus reactive maintenance in industrial settings. These figures are not microtome-specific, so treat them as context, not a promised saving.
Still, they show why a service plan deserves scrutiny. Compare written response-time commitments and annual fees. One caveat: the cheapest contract may exclude the parts most likely to wear. Build a simple five-year estimate, then revise it when your lab’s repair history tells a different story.