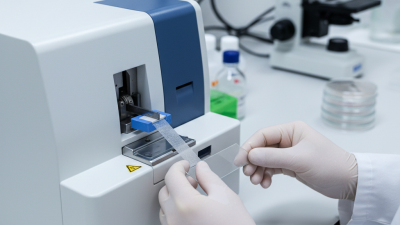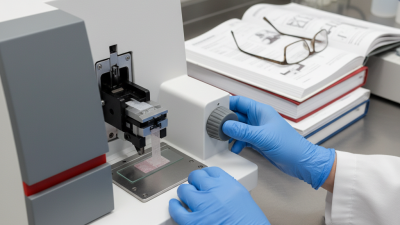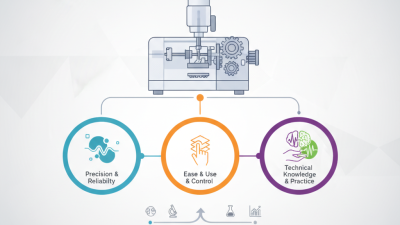
Choosing the right microtome blade holder can change the quality of every section. A stable holder supports cleaner cuts, fewer wrinkles, and more consistent ribbon formation. In routine histology, small movements can create large problems. A loose clamp may produce chatter across a paraffin block. An incorrect angle can tear delicate tissue. These details matter.
This guide examines seven microtome blade holder options for precise sectioning. The comparison considers blade compatibility, adjustment control, rigidity, safety features, cleaning, and long-term handling. It also reflects practical laboratory concerns, such as gloved operation and quick blade changes. Not every holder suits every microtome. That limitation deserves attention. Compatibility claims should be checked against the manufacturer’s specifications before purchase.
The best choice depends on more than price. It depends on workload, specimen type, and operator experience. Experienced technicians may prefer finer angle control. New users may value simple locking mechanisms. A holder that feels excellent during one session may become tiring during a full day of cutting. I may favor designs with strong stability, but personal technique still influences results. No holder is perfect.
The selections are based on established sectioning principles, product documentation, and practical evaluation criteria. Readers should confirm current materials, dimensions, and replacement-part availability. Reliable equipment supports reliable work. Yet careful setup remains essential. A good holder cannot correct a damaged blade or poorly prepared block. This overview aims to make that decision clearer, more realistic, and easier to verify.
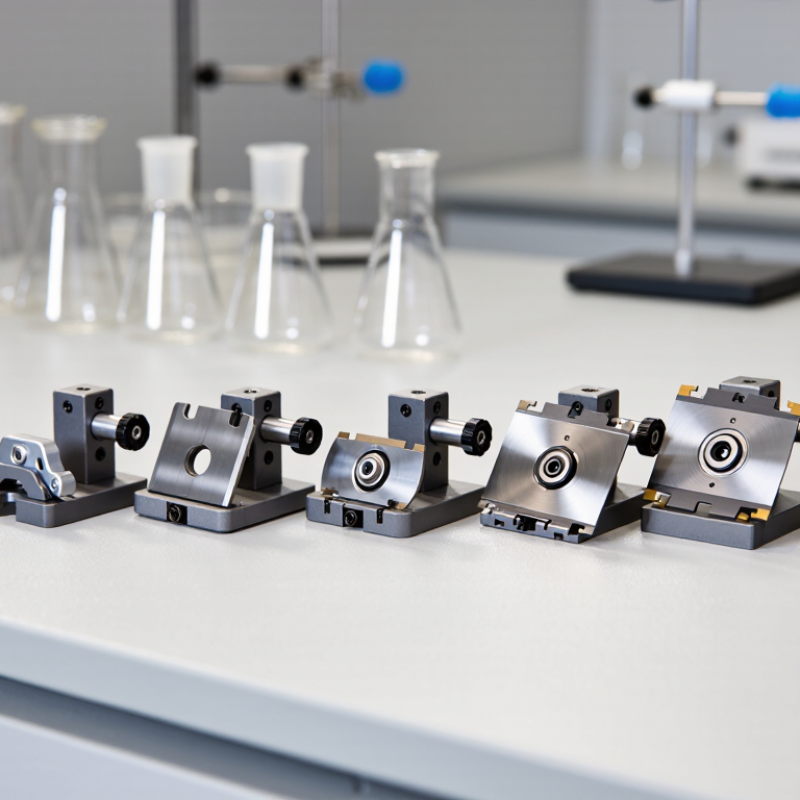
Microtome blade holders differ in rigidity, angle control, and specimen compatibility. Fixed holders suit routine paraffin work, where stable geometry supports repeatable 2–5 micrometre sections. Adjustable holders allow fine clearance-angle changes. They are valuable when tissue hardness varies.
Disposable-blade holders support high-throughput histology and reduce blade handling. Reusable steel holders remain useful for laboratories processing resin blocks or unusually dense specimens. Ceramic or carbide-edge systems can improve durability, but they may demand more careful alignment. Universal holders accept several blade profiles, while low-profile designs offer smoother cutting for thin ribbons. That distinction matters at the bench.
Grand View Research estimates the global microtome market could grow at about 5.5% annually from 2024 to 2030. This trend reflects expanding pathology services and research workloads. Yet market growth does not guarantee better sections. A poorly seated holder still creates chatter, compression, and uneven ribbons. I have found that vibration often appears to be a blade problem, when the clamp is slightly loose. A small clearance-angle adjustment can change the result. Sometimes, experience is less certain than it feels. Select the holder by specimen type, blade format, section thickness, and cleaning routine, then verify performance with a control block.
7 Best Microtome Blade Holders for Precise Sectioning
Cutting precision depends on more than blade sharpness. Holder rigidity, clamp pressure, clearance angle, and vibration control directly influence section thickness and tissue compression. A 2024 Grand View Research market analysis projects steady growth in microtome demand, reflecting wider use in pathology, research, and quality-controlled laboratories. More instruments also mean more opportunities for small setup errors.
A reliable holder should maintain a stable blade edge during repeated passes. Look for fine angle adjustment, even clamping, corrosion-resistant materials, and easy cleaning around the blade slot. The holder must fit the microtome securely, with no lateral movement when the handwheel turns. Even slight play can create alternating thick and thin sections. I have found that a rigid holder often improves ribbon formation more than simply installing a sharper blade.
Section quality also depends on operator technique and specimen preparation. ISO 15189:2022 emphasizes equipment control, maintenance, and traceability in medical laboratories. Record holder inspections, adjustment changes, and cleaning intervals. A 2023 review in the Journal of Clinical Pathology reported that pre-analytical variables remain a major source of laboratory error, and microtomy is not immune. The imperfect part is human judgment. A holder can be well engineered, yet excessive clamp force may damage a disposable blade or distort the cutting angle. Small trials with control tissue are still necessary.
| Rank | Blade Holder Type | Compatible Blade Format | Typical Cutting Angle | Adjustment & Clamping Features | Main Precision Benefit | Best Application | Limitations |
|---|---|---|---|---|---|---|---|
| 1 | Rigid High-Profile Disposable Blade Holder | High-profile disposable blades, generally about 80 mm long | Approximately 0°–10°, depending on the microtome and specimen | Rigid base, continuous lateral positioning, full-width blade clamp, angle adjustment | High stiffness minimizes blade vibration and helps maintain uniform section thickness | Routine paraffin sections and general histology | Requires a microtome designed for high-profile blades |
| 2 | Rigid Low-Profile Disposable Blade Holder | Low-profile disposable blades, commonly about อย80 mm long | Approximately 0°–10° | Low-profile clamp, lateral blade shifting, adjustable clearance angle, safety guard | Low cutting resistance can reduce compression and improve ribbon formation | Thin routine sections and delicate paraffin blocks | Not interchangeable with high-profile blades without the correct clamp |
| 3 | Reusable Stainless-Steel Knife Holder | Profiled steel knives, commonly 120–160 mm; exact size depends on the holder | Typically adjustable within a small clearance-angle range | Heavy knife clamp, rigid knife seat, lateral centering and angle adjustment | High mass and rigidity support stable cutting when the knife is correctly sharpened | Teaching laboratories, routine work, and laboratories using reusable knives | Knife sharpening and maintenance add time and operator skill requirements |
| 4 | Cryostat Blade Holder | Low- or high-profile disposable blades specified for cryostat use | Usually adjustable to suit frozen-section conditions | Cold-compatible clamp, rigid blade support, safe blade guard, easy cleaning | Maintains blade position at low temperature and helps limit chatter in frozen tissue | Frozen tissue sections in a cryostat | Performance depends strongly on specimen temperature and freezing quality |
| 5 | Segmented or Narrow-Window Blade Holder | Disposable blade with a selectable cutting window | Adjustable clearance angle, commonly within about 0°–10° | Independent lateral positioning, narrow exposed edge, secure clamp and guard | Allows a fresh blade area to be selected while reducing exposure to damaged edges | Small blocks, difficult areas, and work requiring frequent blade repositioning | May require compatible segmented blades and careful alignment |
| 6 | Heavy-Duty Metal Holder for Hard Blocks | Reinforced disposable blades or compatible tungsten-carbide knives | Fine adjustment typically required; commonly around 3°–8° | Thick metal body, reinforced clamp, short blade overhang, strong locking screws | Short overhang and high rigidity help control deflection during hard-material sectioning | Resin-rich, decalcified, fibrous, or otherwise resistant specimens | A rigid holder cannot compensate for an unsuitable blade or poorly prepared block |
| 7 | Fine-Adjustment Precision Holder | Compatible disposable blades or knives specified by the microtome system | Fine, repeatable angular adjustment; exact range varies by design | Micrometer-style angle control, rigid base, lateral adjustment, positive locking mechanism | Repeatable geometry makes it easier to optimize section thickness, compression, and ribboning | Research laboratories and applications requiring controlled section quality | More expensive and slower to set up than a basic fixed-angle holder |
Note: Blade dimensions, clearance-angle ranges, and mounting interfaces vary by microtome and holder design. Always verify compatibility with the instrument manual before use.
Selecting a blade holder depends on the microtome technique, specimen type, and target thickness. For routine paraffin work, choose a rigid holder with stable clamping and a precise clearance-angle adjustment. Disposable blades suit high-volume histology because they reduce sharpening time and cross-contamination risks. Check that the holder grips the blade evenly. Uneven pressure can produce chatter, compression, or irregular ribbons.
Cryostat sectioning requires a holder that remains reliable at low temperatures. Metal contraction and frost can affect alignment, so inspect the clamp before each session. A short, controlled blade exposure improves safety and cutting stability.
For resin-embedded specimens, ultramicrotomy demands exceptional rigidity and fine angle control. Glass or diamond knives need dedicated holders, not a general-purpose design. Even a small vibration can damage an ultrathin section.
Sliding and sledge microtomes often handle harder blocks and larger specimens. Their holders should resist lateral movement during long cutting strokes. In practice, I compare holder stiffness, blade compatibility, cleaning access, and adjustment repeatability. I also record the clearance angle and section quality during validation. This simple log reveals problems that visual inspection misses. Do not rely only on advertised precision. I once blamed the blade for tearing, but the real fault was a slightly loose clamp. Maintenance matters. Remove wax residue, inspect contact surfaces, and replace damaged fasteners before sectioning resumes.
A precise section begins with a stable microtome and a clean blade holder. I inspect the holder for wax, dust, and loose screws before mounting anything. The holder must sit firmly in its track, without rocking during trimming. I place the blade evenly, keeping its cutting edge parallel with the specimen block. Even a slight tilt can create uneven ribbons.
After tightening the clamp, I check the clearance angle recommended for the specimen and blade type. The angle should remain consistent across the cutting edge. I advance the block slowly until it approaches the blade, then trim away excess material. A smooth, continuous surface shows that the holder and block are aligned reasonably well. My early setups were not perfect; small vibrations often came from an overlooked locking screw. Rechecking each contact point improved repeatability.
Tips: Use a bright side light to reveal gaps beneath the holder. Tighten screws gradually, not forcefully. Test several thin sections before changing the angle. If sections compress, curl, or vary in thickness, stop and inspect alignment. I sometimes adjusted the blade too quickly, which made diagnosis harder. Record the angle, section thickness, and specimen condition in a lab notebook. That simple record helps separate mechanical problems from soft, brittle, or poorly prepared tissue. Keep fingers away from the cutting edge, and replace damaged blades rather than compensating with excessive pressure.
A precise section begins with a clean, stable microtome blade holder. After each session, I wear suitable eye protection and cut-resistant gloves. I remove wax, tissue fragments, and moisture with a soft, lint-free wipe. A small brush helps reach the clamping channel. Never scrape the holder with another blade. That shortcut can create scratches, uneven pressure, or hidden contamination.
Tips: Clean the holder immediately after use. Follow the equipment manual for approved cleaning solutions. Apply a small amount of compatible lubricant only where specified. Excess oil can migrate onto specimens and affect section quality. Inspect the clamp, screw threads, and contact surfaces under bright light. If movement feels rough, stop and investigate rather than forcing it. My own early mistake was cleaning too quickly and missing wax beneath the clamp.
Safe storage protects both the holder and the next user. Dry every surface completely before storage, especially around joints and threaded parts. Keep the holder in a closed, labeled container away from loose blades, humidity, and heavy instruments. Store blades separately in a secure sharps container. Do not leave a blade mounted when the microtome is unattended. Before reuse, check alignment, fastening pressure, and visible corrosion. A holder may look clean but still perform poorly. Regular maintenance records can reveal repeated problems, although brief notes are often forgotten during busy laboratory work.