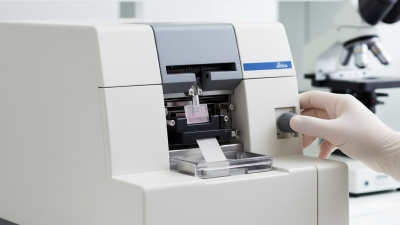
Choosing the right leica microtome manual is more than downloading a PDF. It is a practical decision that affects section quality, tissue preservation, and operator confidence. A useful guide should explain trimming, block orientation, clearance angle, ribbon formation, blade handling, and routine cleaning. It should also identify differences between rotary models, because one setting may not suit every Leica instrument.
Dr. John A. Kiernan, a respected histology author and educator, has emphasized a central principle: “Good sections depend on both sound technique and careful preparation.” This idea remains important when using a Leica microtome. A sharp disposable blade cannot correct an overheated paraffin block. A perfectly prepared block can still produce compression when the feed mechanism is adjusted poorly.
This guide focuses on practical control. It considers the quiet resistance felt while turning the handwheel, the thin ribbon forming across the blade edge, and the small changes that improve consistency. It also discusses safe blade exchange, specimen alignment, handwheel locking, and contamination control. These details seem ordinary. They prevent avoidable errors.
A manual is not a substitute for supervised training. That limitation matters. New users may follow every instruction and still create chatter, folds, or uneven sections. Experienced technicians often adjust gradually, rather than trusting fixed numbers. Temperature, wax hardness, tissue density, and blade condition all change the result.
The best guide therefore combines manufacturer instructions with verified histology practice. It should encourage careful observation, accurate documentation, and honest troubleshooting. Small corrections often matter most.
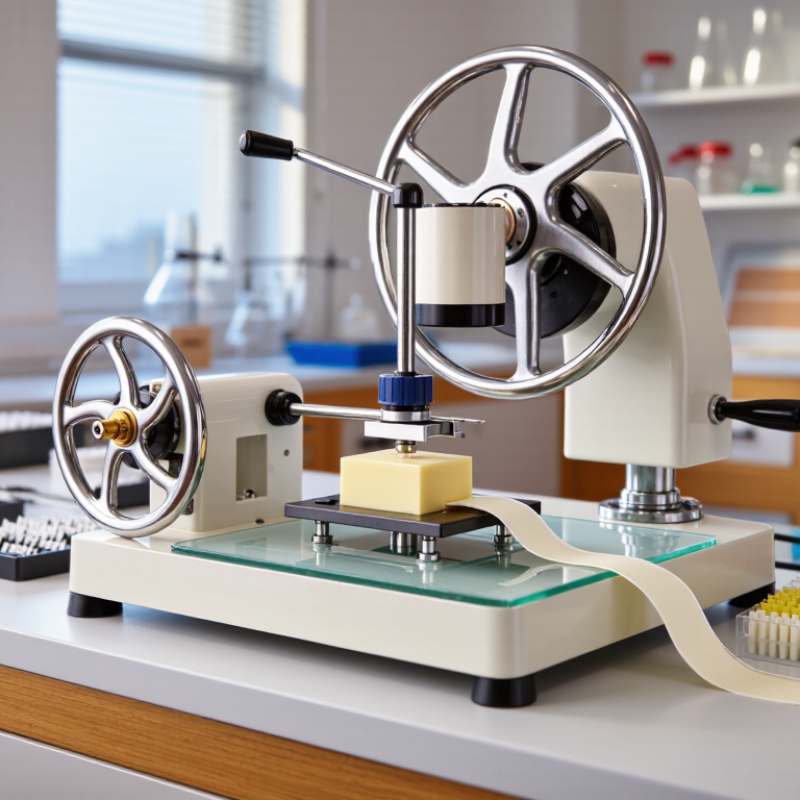
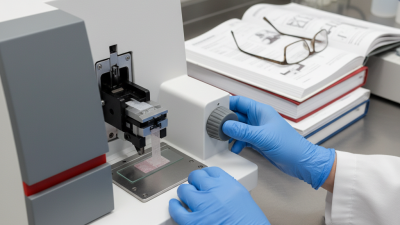
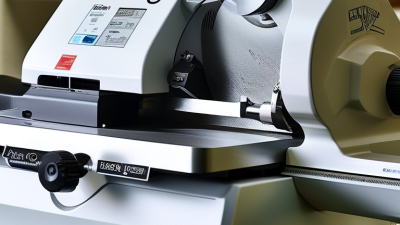
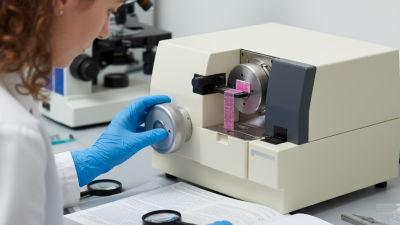
A manual microtome converts fixed tissue blocks into thin sections for microscopic examination. Its main components include the handwheel, specimen clamp, feed mechanism, thickness selector, blade holder, and waste tray. Each part affects section quality. A loose clamp can create chatter, while an uneven blade may produce compression or tearing.
The World Health Organization reported about 20 million new cancer cases worldwide in 2022. Many diagnoses depend on reliable tissue preparation. This demand makes manual cutting skills important, even in laboratories using automated equipment.
ISO 15189:2022 also emphasizes competence, equipment control, and traceable procedures in medical laboratories. In daily practice, I find that cleaning the feed system matters more than expected. Small wax particles can change the advance mechanism. Still, operator technique remains inconsistent, and that weakness deserves honest review.
Tips: Check the clamp before every batch. Set thickness gradually, not forcefully. Keep the blade edge clean and inspect sections under low magnification first. Record unusual compression, chatter, or missing ribbons. A short maintenance log often reveals patterns that memory misses. Never rush the handwheel.
A reliable microtome section begins with a clean, stable instrument. Place it on a firm bench, away from vibration and direct airflow. Check the handwheel, specimen clamp, thickness control, and waste tray before loading anything. Confirm that the instrument is dry and free from old paraffin. Small residues can distort thin sections. I have learned that a quick visual check is never enough. Inspect the clamp closely.
Specimen preparation determines cutting quality. The tissue block should be fully processed, evenly oriented, and securely embedded. Trim excess material, but leave enough support around the specimen. A warm block may compress during sectioning, while a brittle block can fracture. Allow the block to reach a suitable working temperature. Test one or two sections before adjusting the settings further. Patience matters here.
Cutting tools require equal attention. Use a sharp, undamaged blade or knife designed for the selected material. Mount it evenly, then verify its angle according to the instrument procedure. Never touch the cutting edge with bare fingers. Wear appropriate eye and hand protection. If sections curl, form ribbons poorly, or show chatter, stop and inspect the block, blade, clearance, and feed mechanism. My own early mistake was changing several settings at once. That made the real cause harder to identify. Record each adjustment in the laboratory log.
Microtome Manual User Guide: Installing the Blade and Setting Section Thickness
Before installing the blade, place the microtome on a stable, vibration-free bench. Wear suitable cut-resistant gloves and keep the handwheel locked. Inspect the blade holder, clamping surface, and blade edge for dust or damage. Slide the blade into the holder evenly, with the cutting edge facing the specimen. Tighten the clamp firmly, but avoid excessive force. An uneven blade can produce compressed or alternating sections. In my experience, checking alignment under a bright side light often reveals small positioning errors.
Tips: Keep the blade guard nearby. Check twice.
Set the section thickness according to the specimen and examination purpose. Routine paraffin sections commonly begin around 3–5 micrometres, while harder samples may need a different setting. Turn the thickness control slowly, then confirm the displayed value before trimming. Advance the block gradually until the surface becomes even. If ribbons break, inspect blade angle, wax temperature, block cooling, and cutting speed. I sometimes adjust the blade angle too quickly, which can hide the real cause. A slower, recorded approach is more reliable.
Use a clean brush to guide ribbons without touching the blade. Record the thickness, block condition, and any adjustments in the laboratory log. Consistent notes make later troubleshooting easier. Never leave an exposed blade unattended.
Cutting tissue sections with a manual microtome requires steady preparation and careful hand control. Wear protective gloves and eye protection before handling the instrument. Confirm that the specimen is fully fixed, processed, and embedded in a firm block. Trim the block until the tissue surface appears evenly exposed. A clean face matters.
Secure the block in the holder, then install a sharp, compatible blade according to the equipment manual. Set the section thickness required by your examination plan, often between three and seven micrometres. Adjust the clearance angle carefully. Advance the block slowly, using smooth and consistent movements. Collect the ribbon on a warm water surface, then lift complete sections onto labeled slides. Avoid rushing.
Watch the ribbon closely. Compression, chatter, or folds can indicate a dull blade, incorrect clearance, poor processing, or excessive cutting speed. I sometimes adjust one setting at a time, because changing several makes the cause unclear. That is not always efficient. Tissue hardness can also vary within one block. Replace damaged sections rather than forcing them into place. Dry the slides under validated conditions, record the settings, and clean wax debris from the instrument after use. Small notes often prevent repeated errors.
| Step | Procedure Stage | Recommended Action | Typical Setting or Check | Expected Result |
|---|---|---|---|---|
| 1 | Prepare the work area | Clean the work surface, confirm adequate lighting, and place the microtome on a stable, vibration-free bench. | Use a clean, dry area with sufficient space for slides, forceps, a brush, and waste collection. | The instrument and accessories are accessible and free from contamination. |
| 2 | Wear protective equipment | Wear a laboratory coat, protective eyewear, and suitable gloves. Handle the cutting blade only with an approved holder or tool. | Keep the handwheel locked whenever the block or blade is being installed or adjusted. | Reduced risk of cuts, exposure to fixatives, and contact with biological material. |
| 3 | Inspect the specimen block | Check that the tissue is fully processed, correctly oriented, and firmly embedded in a uniform paraffin block. | The block face should be flat, and the tissue should be surrounded by adequate embedding medium. | The tissue is supported evenly during sectioning. |
| 4 | Trim the block | Secure the block in the specimen clamp and remove excess paraffin with coarse trimming until the complete tissue surface is exposed. | Use a coarse trimming range of approximately 10–30 µm, then return to the desired section thickness. | A level, rectangular tissue face is visible without unnecessary loss of tissue. |
| 5 | Install and align the blade | Fit a sharp disposable blade or reusable knife according to the instrument instructions. Align the edge parallel to the block face. | Set the clearance angle according to the blade and holder design; a common starting range is approximately 3–8°. | The blade contacts the block evenly without excessive compression or chatter. |
| 6 | Set section thickness | Select the thickness required for the examination and switch from trimming to sectioning mode. | Routine paraffin sections are commonly cut at approximately 3–5 µm; thicker sections may be used for special applications. | The selected thickness is displayed or confirmed on the instrument scale. |
| 7 | Condition the block | Allow the block to equilibrate to the working environment. If sections compress or crumble, adjust block temperature or cutting conditions. | Paraffin blocks are often cooled before sectioning; avoid condensation and excessive freezing unless validated for the material. | The block produces continuous ribbons with minimal compression. |
| 8 | Cut the first sections | Release the handwheel lock, rotate the handwheel smoothly and consistently, and use the feed mechanism to advance the specimen. | Maintain a steady cutting rhythm; do not force the handwheel or make abrupt movements. | Sections form evenly and remain attached as a ribbon when conditions are suitable. |
| 9 | Float the sections | Transfer selected sections to a clean flotation bath using a brush or forceps, avoiding folds and stretching. | Use clean water below the paraffin melting point, commonly around 40–45 °C for routine paraffin sections. | Wrinkles relax and the section spreads smoothly on the water surface. |
| 10 | Collect the section | Lift the section onto a labeled glass slide and drain excess water from the slide surface. | Use positively charged or adhesive-coated slides when required by the staining method. | The section is centered, flat, correctly identified, and free from visible folds. |
| 11 | Dry the slide | Place the slide in a drying area or warming oven appropriate for the embedding medium and downstream staining procedure. | A commonly used paraffin-slide drying range is approximately 37–60 °C; use the validated laboratory protocol. | The section adheres firmly without tissue distortion or excessive drying. |
| 12 | Inspect and document | Inspect the slide under low magnification and record section quality, thickness, specimen identification, and any cutting problems. | Check for folds, chatter, knife lines, compression, tearing, holes, and incomplete tissue representation. | A traceable slide is available for staining, microscopy, or further quality review. |
| 13 | Clean and secure the instrument | Lock the handwheel, remove blade waste using forceps, brush away paraffin shavings, and return the instrument to its safe position. | Never handle used blades directly. Dispose of sharps in an approved puncture-resistant container. | The instrument is clean, locked, and ready for the next authorized user. |
A manual microtome needs disciplined cleaning, not aggressive scrubbing. Remove paraffin curls after every session with a soft brush or lint-free cloth. Avoid compressed air near bearings, because debris can enter hidden mechanisms. Wipe the blade holder and work surface with an approved laboratory disinfectant. Keep liquid away from adjustment controls.
The WHO Laboratory Quality Management System handbook identifies equipment management as one of 12 quality essentials. That means each cleaning action should be recorded, not merely remembered. Note the date, operator, cleaning agent, and unusual resistance. ISO 15189:2022 also expects equipment maintenance records and documented corrective actions. Small records protect large results.
For maintenance, inspect the handwheel, specimen clamp, feed mechanism, and safety guard weekly. Check for loose screws, uneven movement, or paraffin buildup. A rough cutting stroke often reflects contamination or poor alignment. A compressed ribbon may indicate incorrect clearance, a dull blade, or excessive specimen hardness.
Stop before forcing the wheel. I once underestimated a slight vibration; the next sections were inconsistent. That mistake was preventable. If troubleshooting fails, label the instrument, preserve the settings, and request qualified service. Never improvise with oil or replacement parts.